Retreats are for you!

Hello crafty friends! I was reading this article this morning and thought I’d share it. Why go on a weekend retreat? Many reasons…most of which I think are outlined beautifully in this article.

A ‘retreat’ may sounds like a fancy term…call it a getaway, a weekend off…whatever you like, but you are important!! The list below is all of what inspires me to organise and facilitate a weekend away for you all.

A time to be inspired, spend time with yourself and your passions, be someone outside your busy day to day routines….and have someone cook for you, clean for you and care for you!

Read all about it here https://www.lamuseretreat.com/retreats/why-are-retreats-important/ and if you’d like to book in for our Life by Colour upcoming crafty weekend retreat from the 22-24 May 2020 in beautiful Gippsland Victoria, email me today at srosse15@icloud.com

Pinkfresh Studio Office Hours for My Scrapbook Room

Hello crafty friends, I wanted to take a minute to show you some of the versatility of the puffy stickers in this month’s Pocket Kit from My Scrapbook Room.

I am hoping to get stuck in to this kit this weekend but I used a number of the Pinkfresh Studio Office Hours stickers in my Week in the Life (WITL) album.

My WITL album seems to be the longest project ever, but I’m slowly getting there. This collection is perfect to compliment moments throughout the day.

Whether it be paying the household bills or of course some office pics of how the day is progressing.

I love the little phones and text bubble stickers for this pic of a message my son and I were exchanging.

For this week in May we had student led conferences at my children’s school so the books and pencil stickers were great on these pages too!

A video of the My Scrapbook Room August releases can be seen on my YouTube channel at https://youtu.be/7GLfax89bu4. This includes the Pocket Kit as well as the Main Kit and Embellishment Kit.

Be sure to sign up for a monthly subscription today to ensure you don’t miss them!

Enjoy Life for My Scrapbook Room

Hello crafty friends!

Ever needed some inspiration to get that next layout done? One of my crafty idols inspired this 9×12 inch layout for me. Victoria Marie Designs is my go channel at the moment for all things simple but pretty.

Victoria has such a gentle approach and explains step by step how she approaches her layouts on her YouTube channel. Be sure to check her out. Here is her layout that caught my eye and inspired the design for mine.

For my layout, I used the My Scrapbook Room August Main Kit with a few touches of the Embellishment Kit also.

The Pink fresh studio papers in this kit are just devine. I’ll definitely be using both sides of these papers in my album.

Let’s take a closer look;

I just love the puffy stickers that created the title as well as the floral additions. This page will be the opening page in our family 2019 album.

The enamel dots from the Embellishment Kit are a spectacular colour that compliments the labels and paper colours this month.

The die cut pack is so versatile and I just love the phrases within it. You’ll see a lot more of those to come!

Be sure to get your August kits today at www.myscrapbookroom.net or contact Enna to organise a monthly subscription so you’ll never miss these value for money kits!!

Thanks for stopping by – I’d love if you’d follow along on my blog to see all the crafty projects I get up to. Until next time….

‘My Story Now’ for My Scrapbook Room

Hello crafty friends, I have a double page layout for you today for the My Scrapbook Room Design Team.

For all the kits details and subscription sign up, check out http://www.myscrapbookroom.net

This layout was created using the July main kit and embellishment kit with the gorgeous Pink Paislee Indigo & Ivy collection. Of significance however was the story that rose to the surface when I considered Scrapbooking these photos.

The photos were from a recent craft weekend retreat that I attended with some beautiful friends of mine. It was the second time I had attended this retreat and love that it is so easy going, welcoming and laid back (in that you’re free to do what you want, when you want). No pressures at all.

The journaling prompts allowed me to tell the story of how I’m over coming my ‘mum guilt’ and now able to really enjoy a weekend away.

This weekend was so fantastic, it has inspired me to make it want to happen more frequently. I have been thinking about hosting my own retreats for some time now and following this weekend away I seriously started researching it.

I find it so relaxing to be in a room full of people with a common interest. As a classic introvert, this is usually a little overwhelming, but maybe it maturity, maybe it’s a somewhat familiarity but it’s like old friends coming together.

If you’d like to find out more about the upcoming October retreat, feel free to message me. Bookings being taken until the 24 July 2019.

Thanks for stopping by and checking out these beautiful kits. One of my favs would have to be these enamel hearts and stickers from the embellishment kit…LOVE them!

Memory Planner layouts for My Scrapbook Room

Hello crafty friends, today I am so excited to bring you my first blog post for the My Scrapbook Room Design Team.

The pages have been created using the Main Kit and Embellishment kits. You may like to consider subscribing to these fantastic monthly kits at www.myscrapbookroom.net. Both kits use the beautiful Pink Paislee Indigo & Ivy collections.

These pages in my Happy Memory Planner from Me and My Big Ideas (MAMBI) show case how you can use the patterned papers from the Main Kit in non traditional layouts. I use my planner punch and this cuts the paper to the right size to fit the planner spaces.

The Main Kit comes with gorgeous die cuts – here is some of the tabs I have used on additional photos in my planner. This allows me to add 4×6 inch photos in addition to my planner spread.

Here you can get a closer view of some more beautiful die cuts and some phrase stickers from the Embellishment kit.

Isn’t this little card just so cute! Perfect to accompany any photo or layout, it allows you to mark off the feelings linked to that photo.

When I have lots of photos, like from this weekend, I use a Happy Planner Page pocket insert to hold these photos. For the card below, I adhered this to a piece of patterned paper cut from the kit and added my journaling to it.

Whilst I haven’t quite finished this month yet (yes I am still working on March 2019) I enjoy reliving the moments as I capture our every day life in this format.

The two sticker sheets from the embellishment kit are just gorgeous. There’s also a range of wood veneer, sequins and enamel dots in the kit.

Thanks for joining me today and I look forward to bringing you more projects shortly using these My Scrapbook Room kits! Stay crafty!

My approach to Week in The Life…

Hello crafty friends, today I want to share with you my Week in The Life Project. All of last week I was consciously (more than usual) taking photos of our lives throughout the week to document.

The Week in The Life Project is one that Ali Edwards heads up and she close the week of the 6-12 May for the project. Though really, you could do this any time throughout the year you like. For more details about it, checkout out https://aliedwards.com/blog.

My hope is that in weeks, months, years, decades to come, we can look back and see what an average week in our lives looked like. That would have been fine, except I would say that week was anything but average. It was one of the busiest weeks in our lives we have had for a while with a number of ‘out of the ordinary’ events occurring – in the end though, this added to the richness of the project.

The goal for me was to capture the great shots but also every day things, primarily from my perspective. Other family members played along and took pics for me as their day occurred too which was most helpful.

I discovered the use of the timer on my iPhone camera too which was great! Here’s just a few of my fav shots of myself throughout the week…

Love the quick thinking shot of sitting and waiting for a train to pass.

Each day I would note down the time photos were taken (my iPhone make this easy to do) and jot down a few words of why I took that particular photo. This will prompt me when I go to complete my journalling.

So as for my process of putting the album together, I printed all of my photos in a 3×4 inch size, with the exception of some 6×8 enlargements.

Prior to that, using my phone as a reference point, I then went through and used sticky notes to plan out the placement in my 6×8 inch album as pictured below. I am using the Close to My Heart every day album with their memory protectors.

I then went through some of the WITL cards I have and positioned them in the pockets as they corresponded to the photos. I am trying to keep my photos in time order on that particular day so you can easily see how the day unfolded.

Next I printed my photos and am beginning to organise them in to the allocated pockets. I will of course move them around if needed.

I’m excited to see it coming together now with the photos in the album. Next is the fun part…embellishing and journaling about the week.

Stay tuned for a further post with the finished album!!

Final steps to get Project Life 2017 done in 6 steps – let’s go!

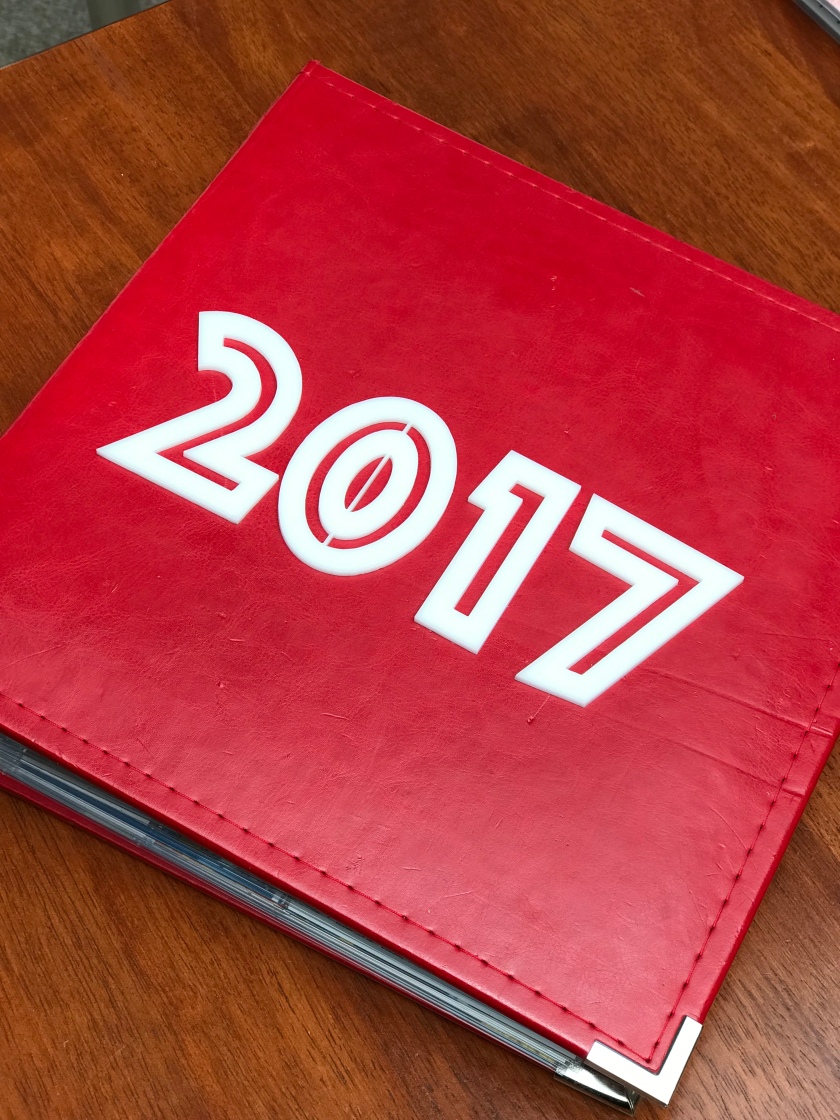
Hello crafty friends, I thought I’d share this quick blog post with you as I am preparing to complete my 2017 Project Life album.

I was pondering about why it has taken me so long to finish this album – honestly, it seemed too overwhelming and it was easier to work on other projects that seem to come together with less effort.

I had printed all my photos some time ago and had two 8.5×11 inch albums set aside for the project. I had even started to lay out most of my photos in the pockets.

The album is being scrapped by the month so I had organised my photos by the month and had begun to sort them out in chronological order.

So here’s some insight in to my process which you may find helpful for starting or even finishing a big project of your own. My hope is that this will help you feel less overwhelmed with such a large project, particularly if you are going back and working on retrospectively.

Now I have some time off work, my creative juices have been flowing and I can even picture this album finished…almost anyway!

1. Print and sort your photos. Once I have chosen my photos for the project, I print them. I print monthly through Snapfish. I then go through and sort them according to month, date of occurrence.

I group them in chronological order where ever possible, using my iPhone camera roll and Facebook history as a reference point for when the photos were taken and what happened at the time.

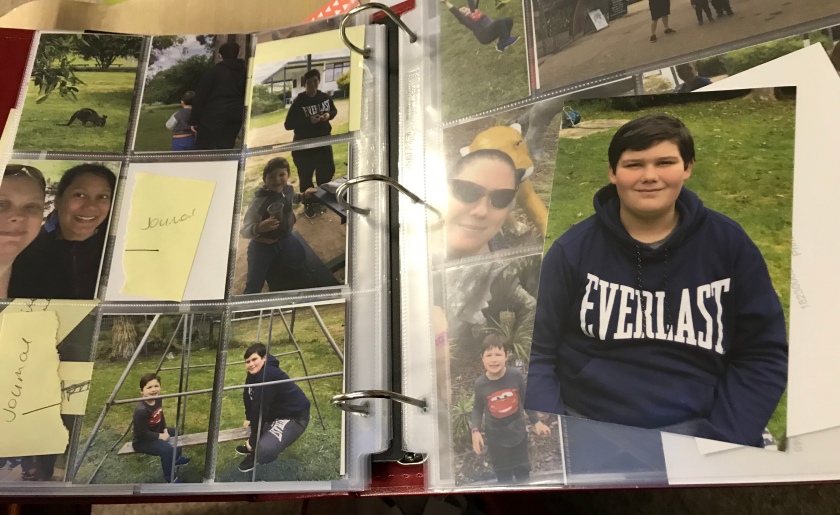
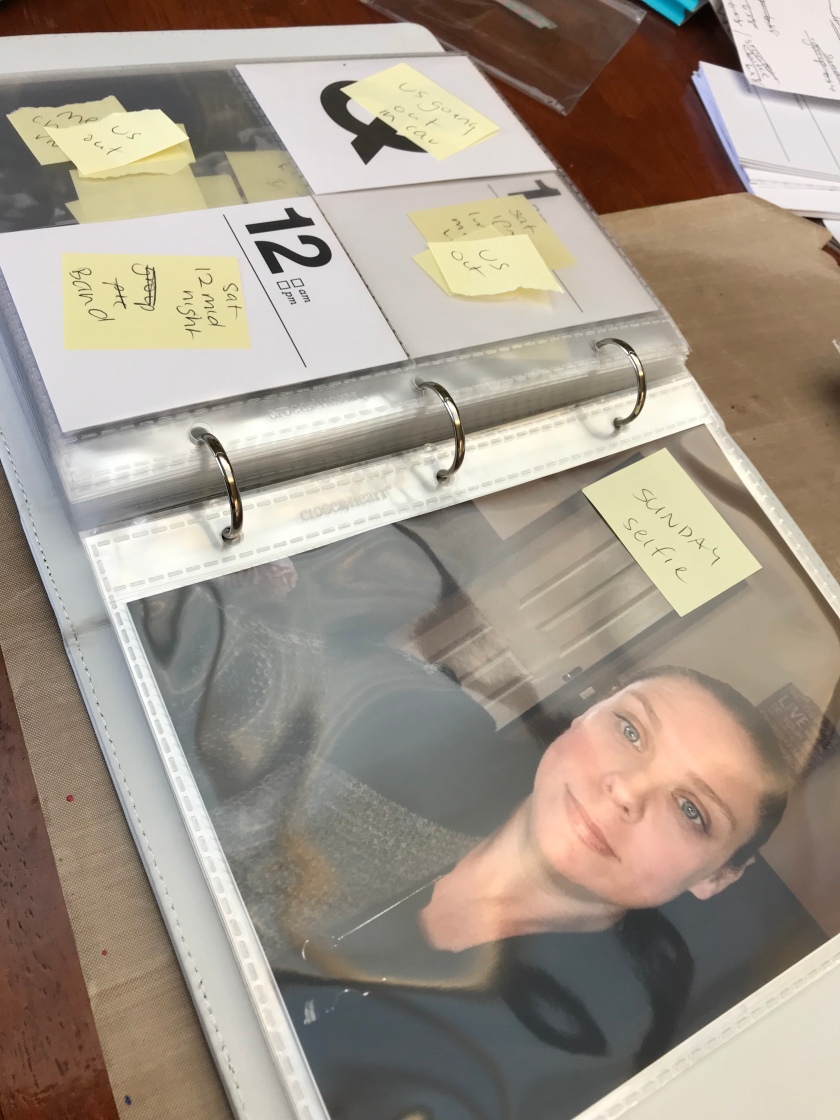
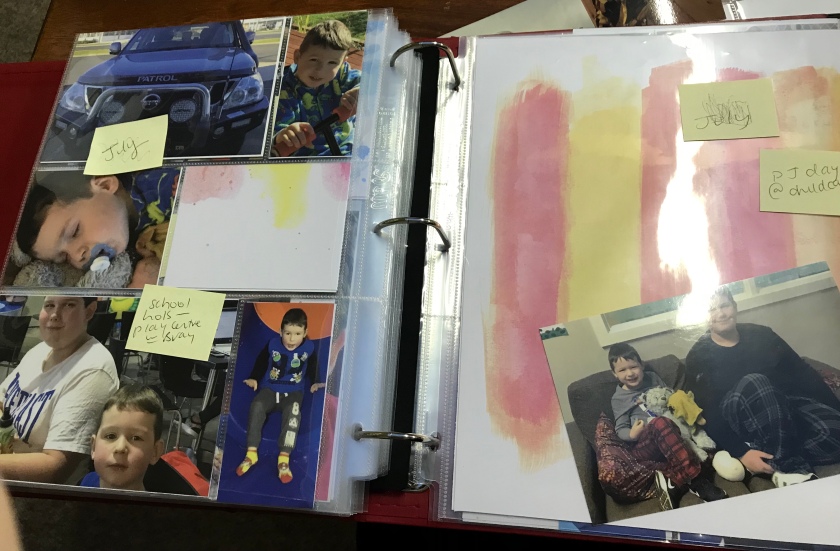
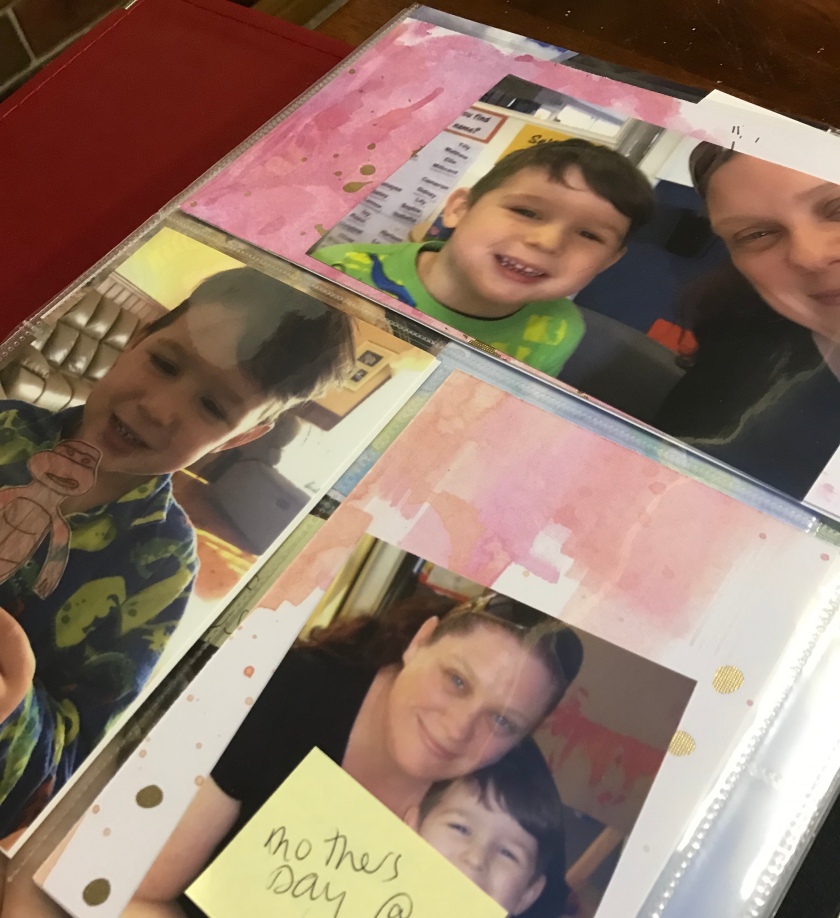
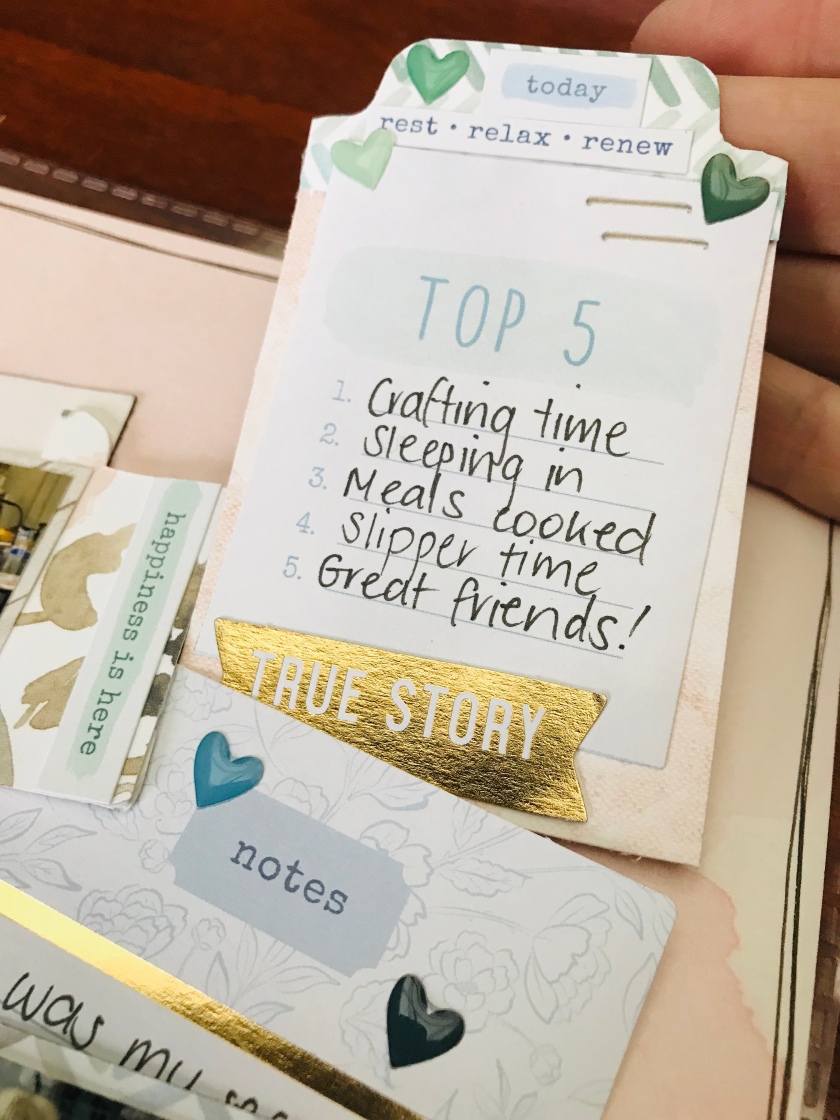
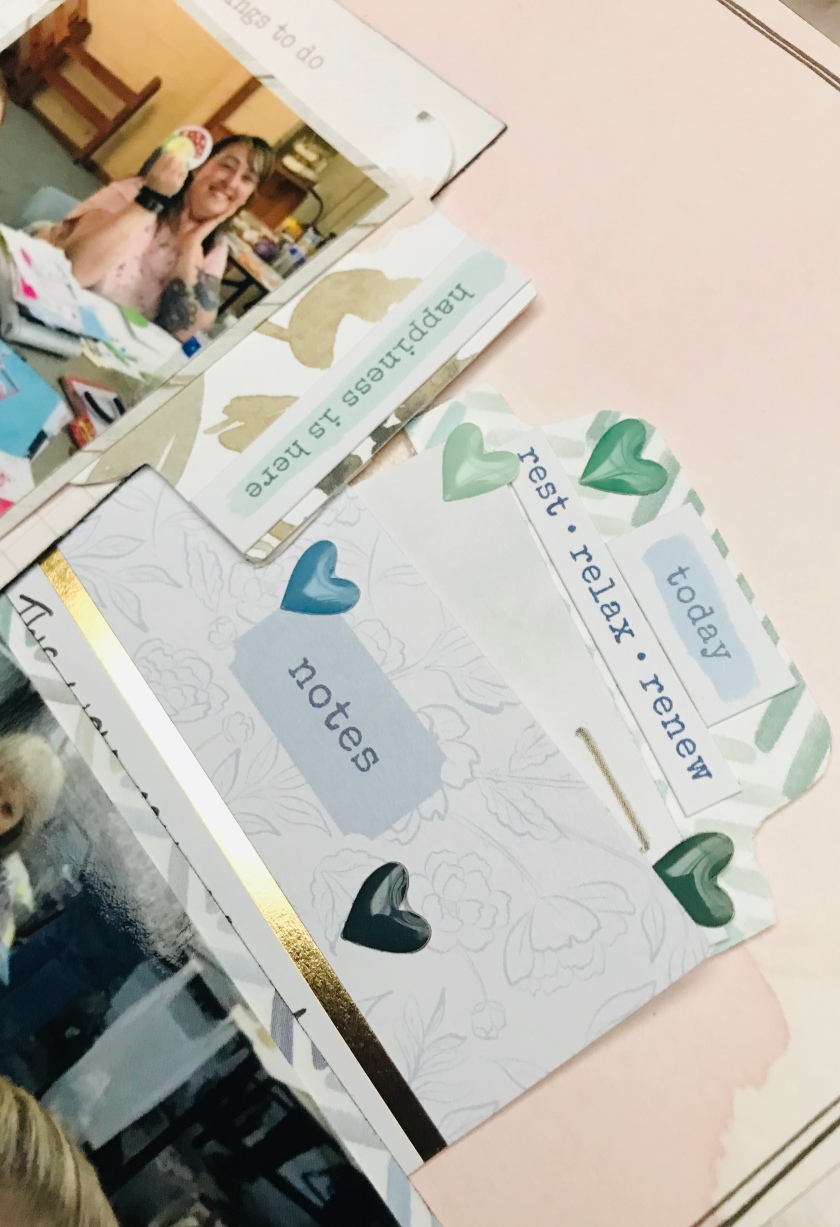
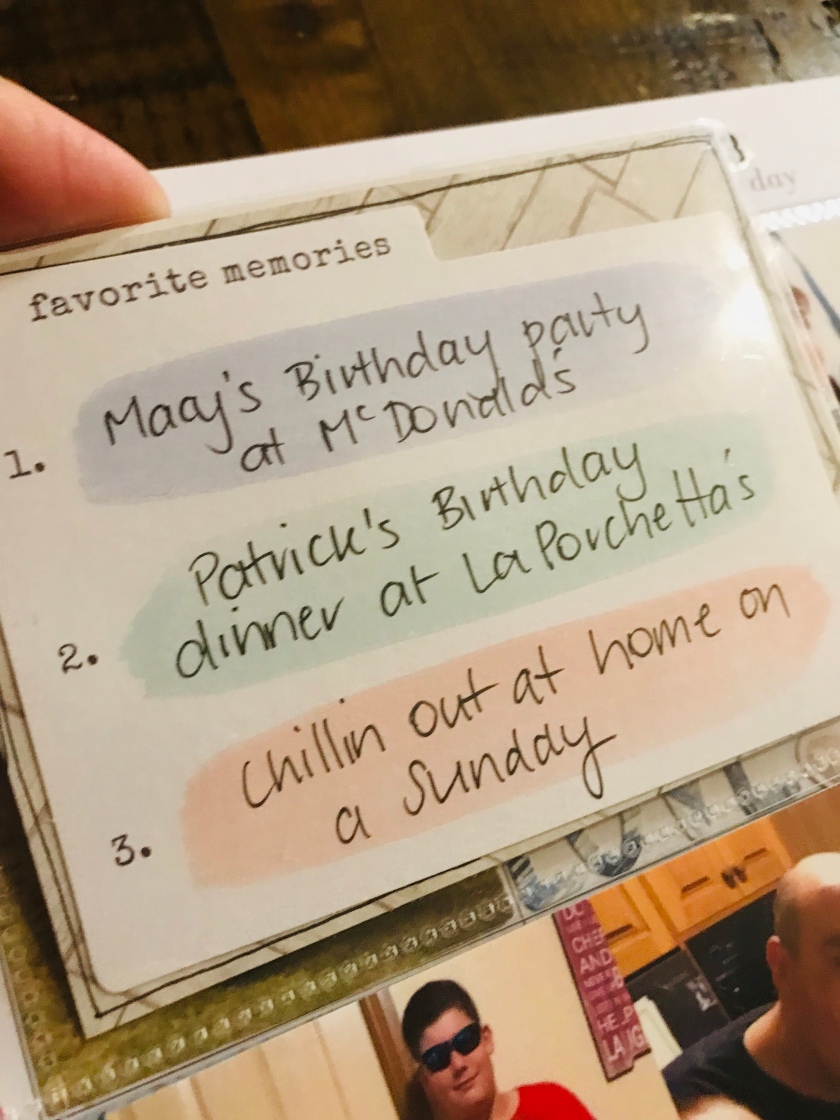
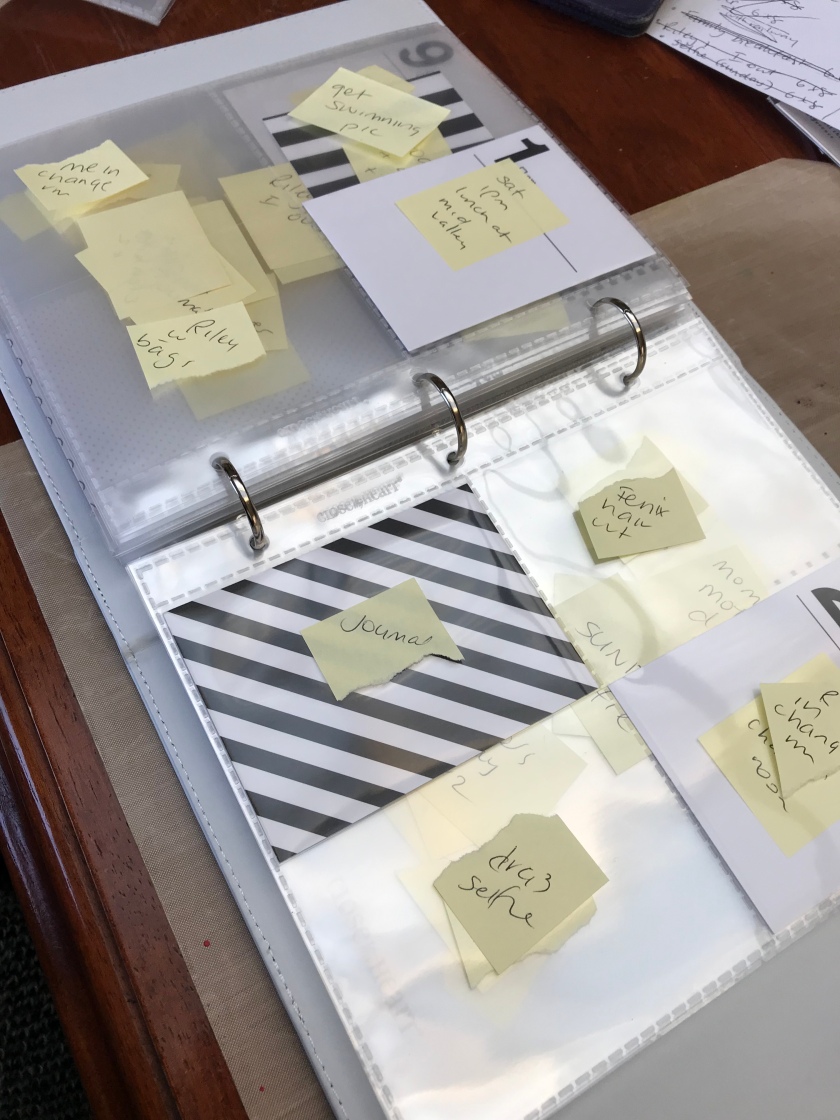
2. Use sticky notes. As I am sorting through the photos, I use sticky notes to remind me of events, dates and journalling points that I may want to include. These can be stuck to your album pages as you go so you don’t forget details.

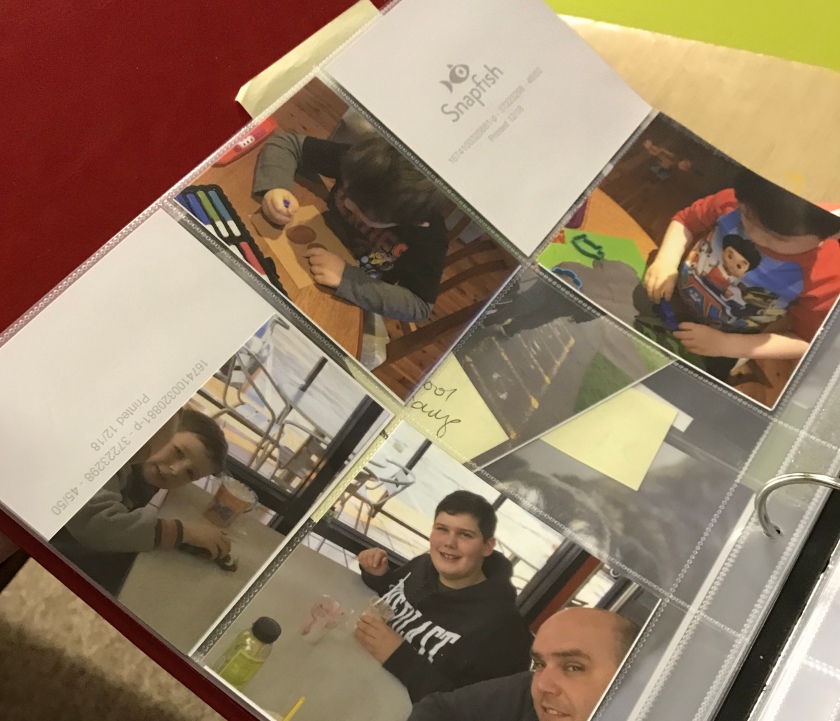
3. Determine which page protectors you want to use for the project. I am using We R Memory Keepers page protectors in an 8.5×11 inch size. You may like to include a variety of pocket protector sizes in the one album. For example, in a 12×12 album, you could include 6×8 or even 9×12 page protectors. I love the look of the mixed and matched pages.

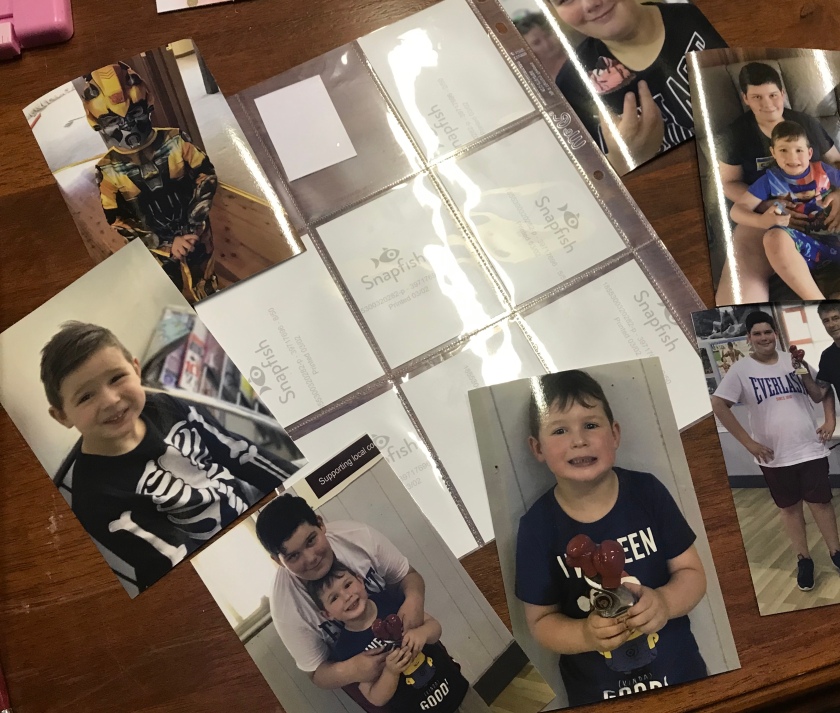
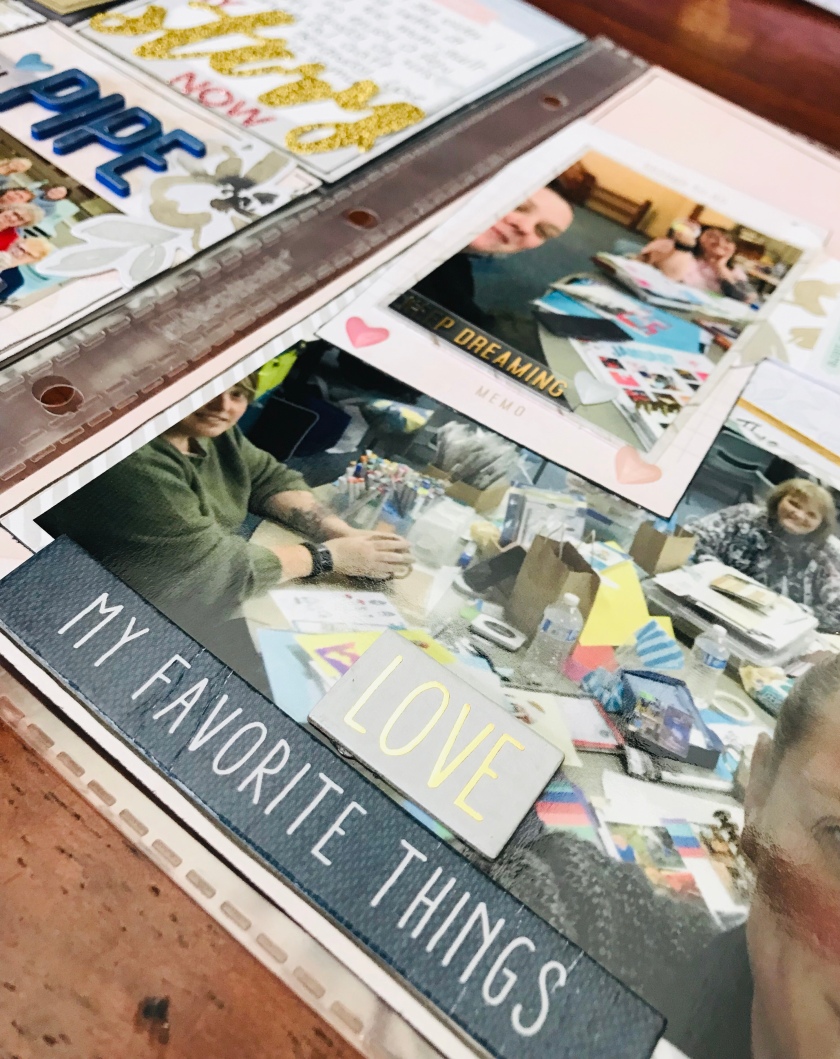
4. Find your photos a home. Allocate your photos to a page protector based on the stories you want to tell. You may like to trim them and sit them in the page protectors ready for compilation.

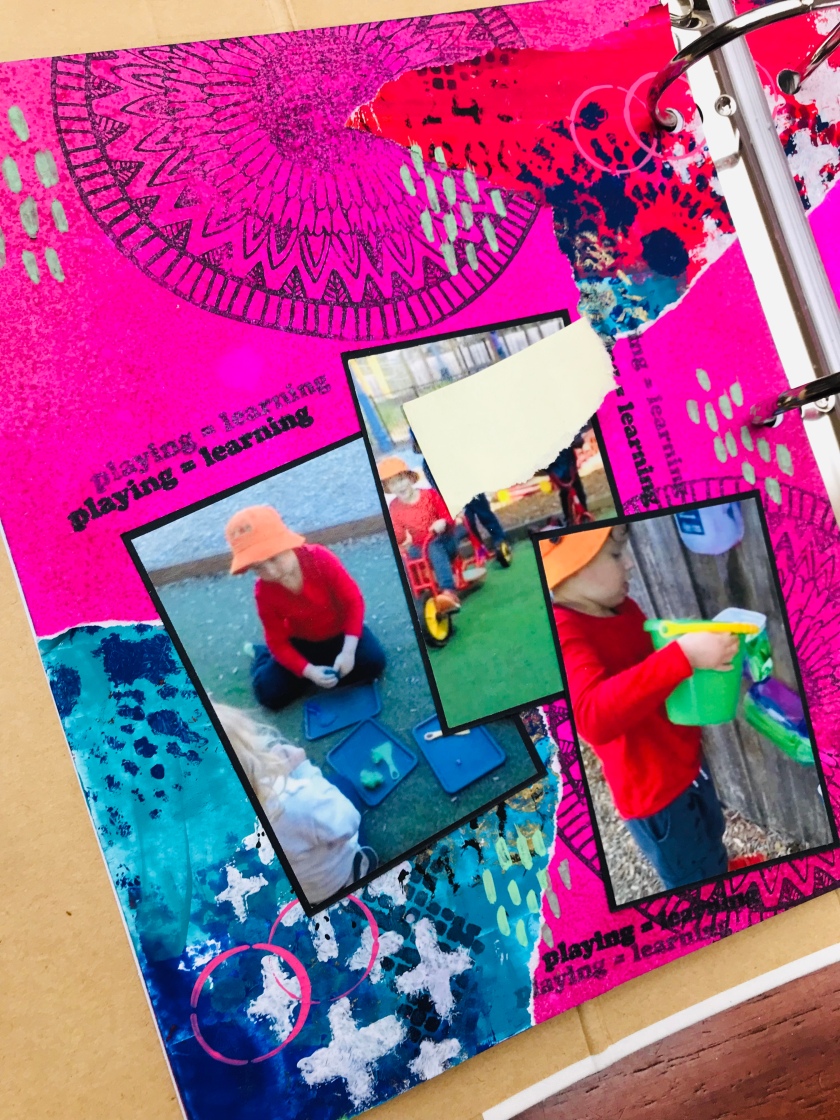
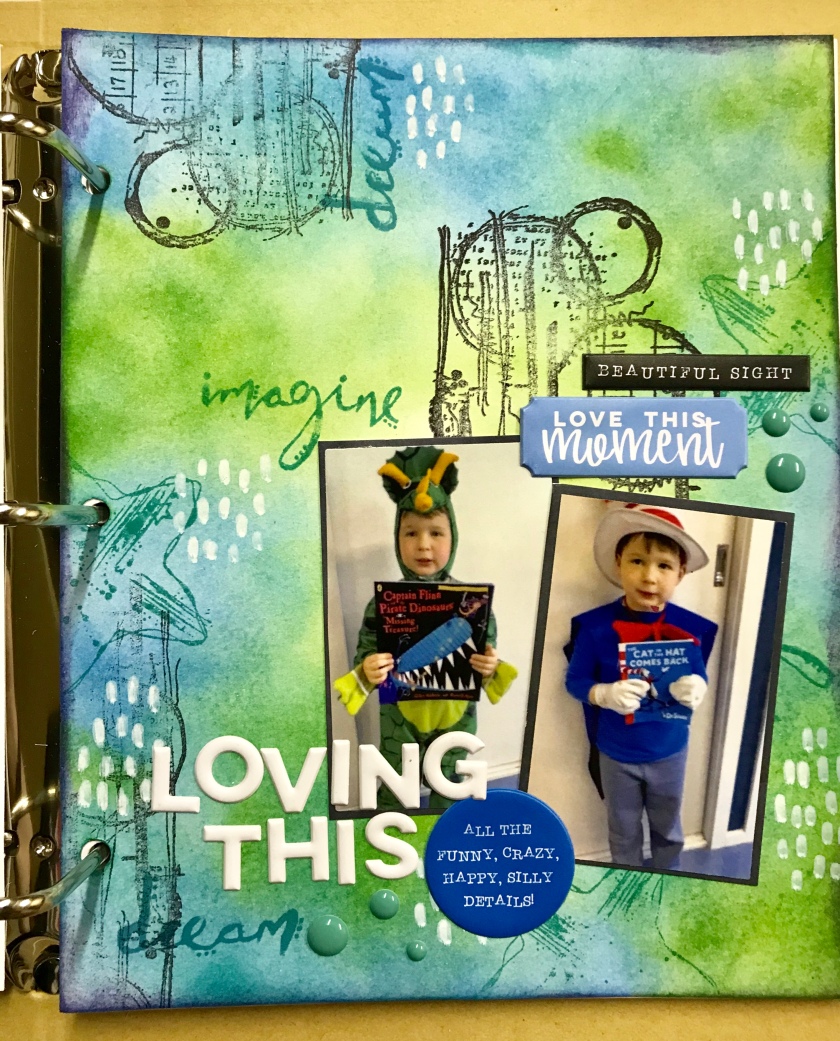
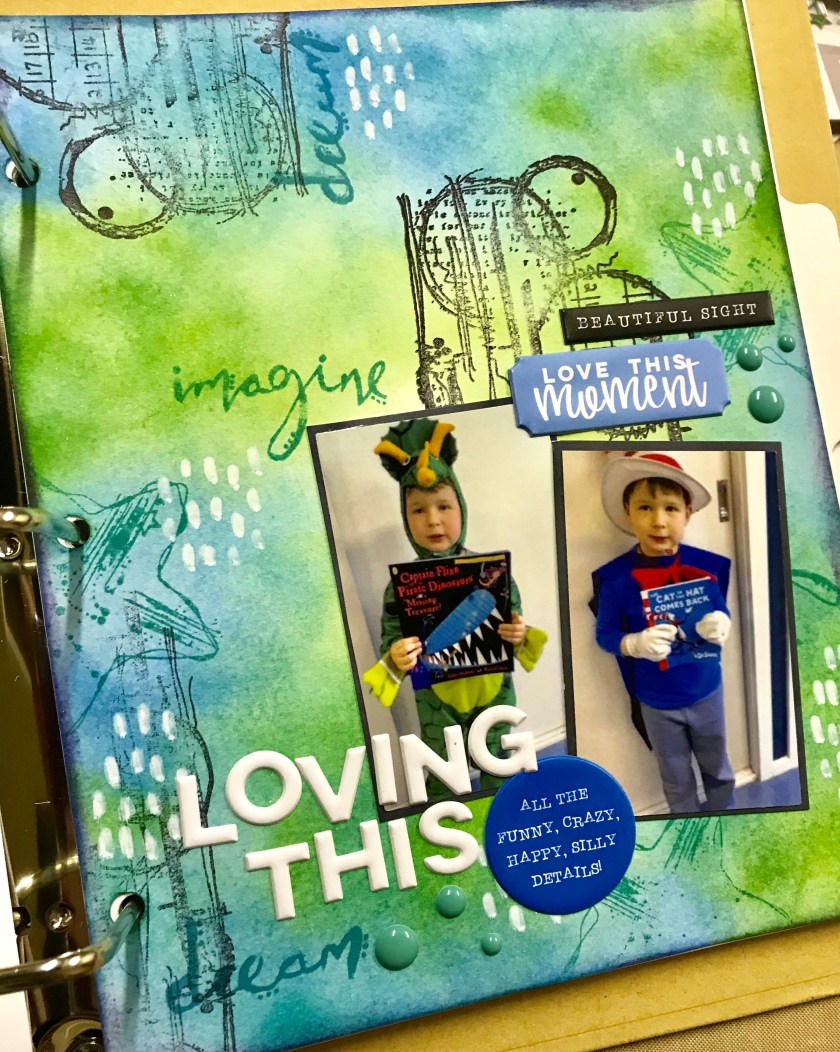
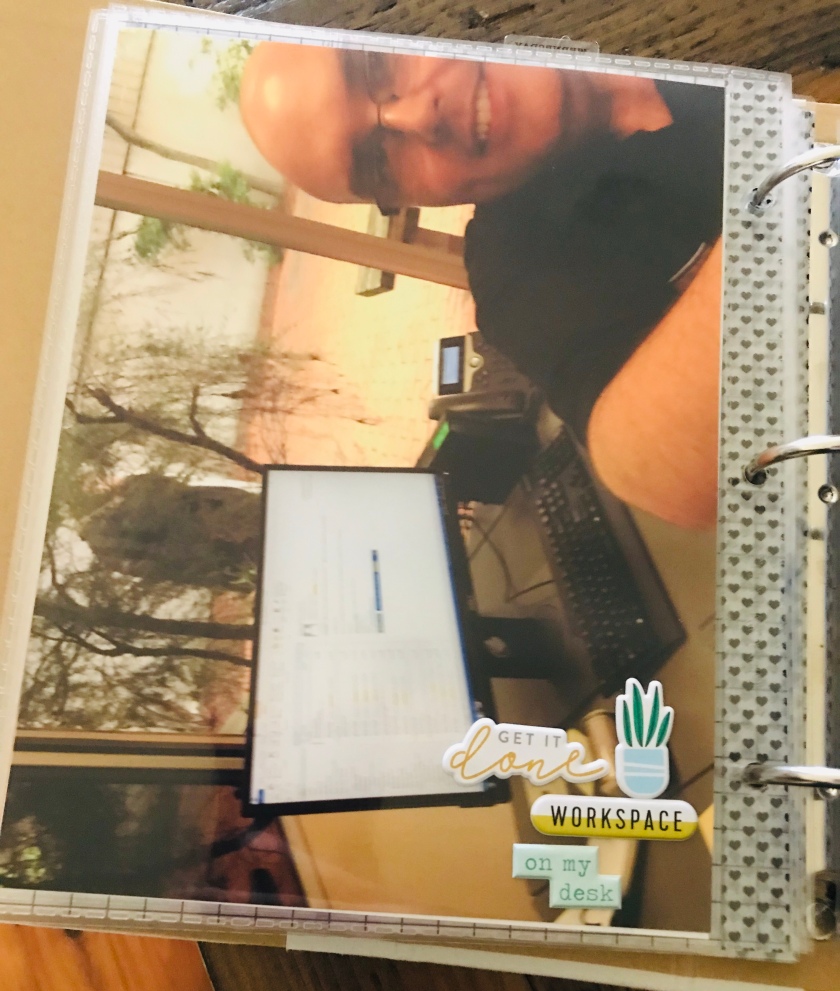
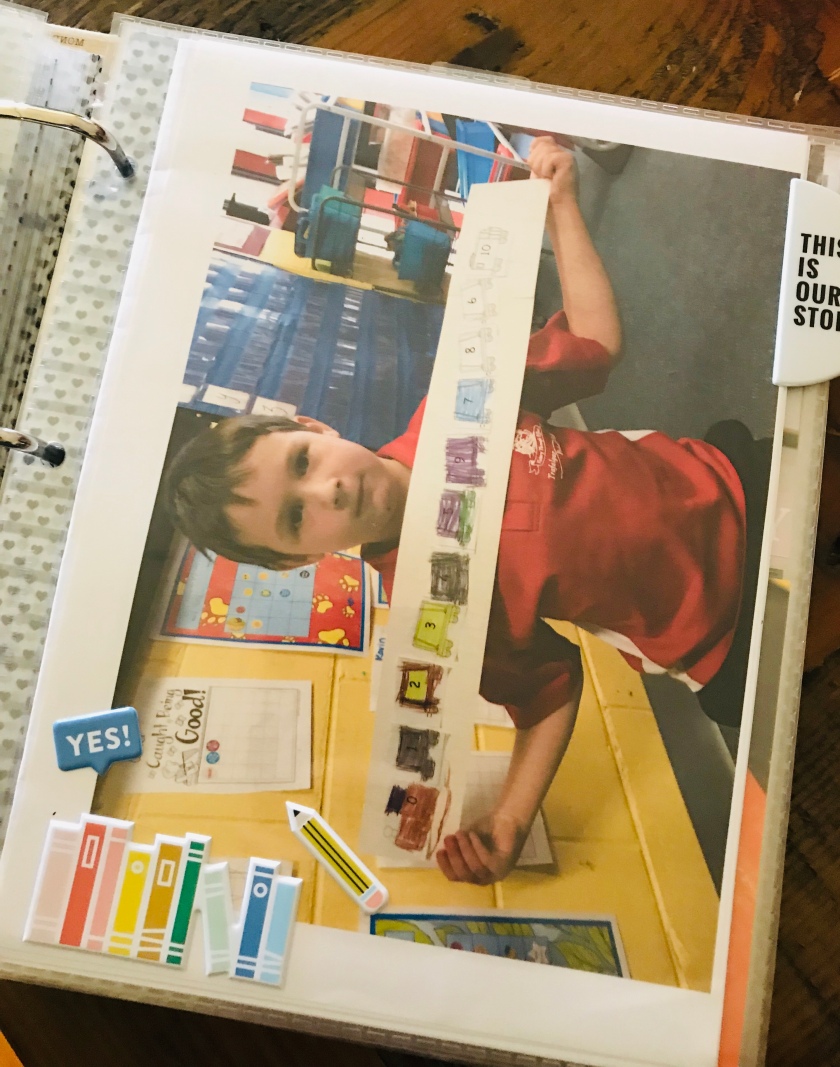
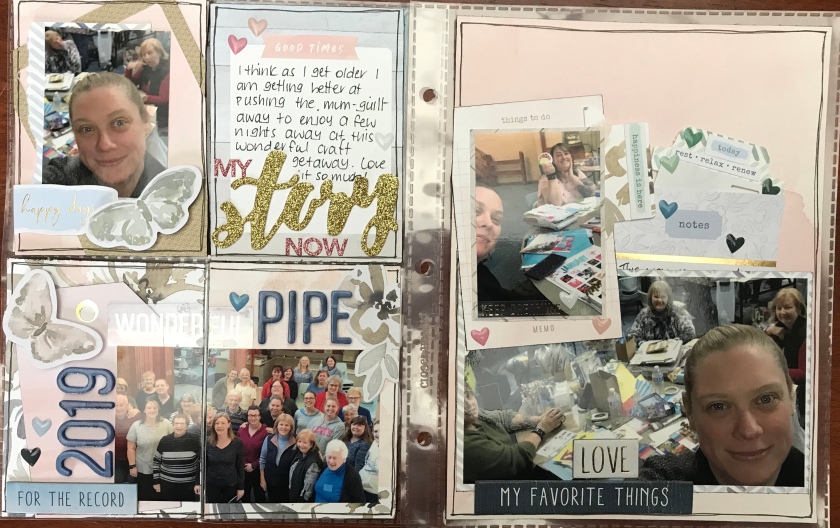
Some larger photos will have their own layout on an 8.5×11 inch page in my album. These are usually photos I want to particularly highlight or have a special story to tell about.

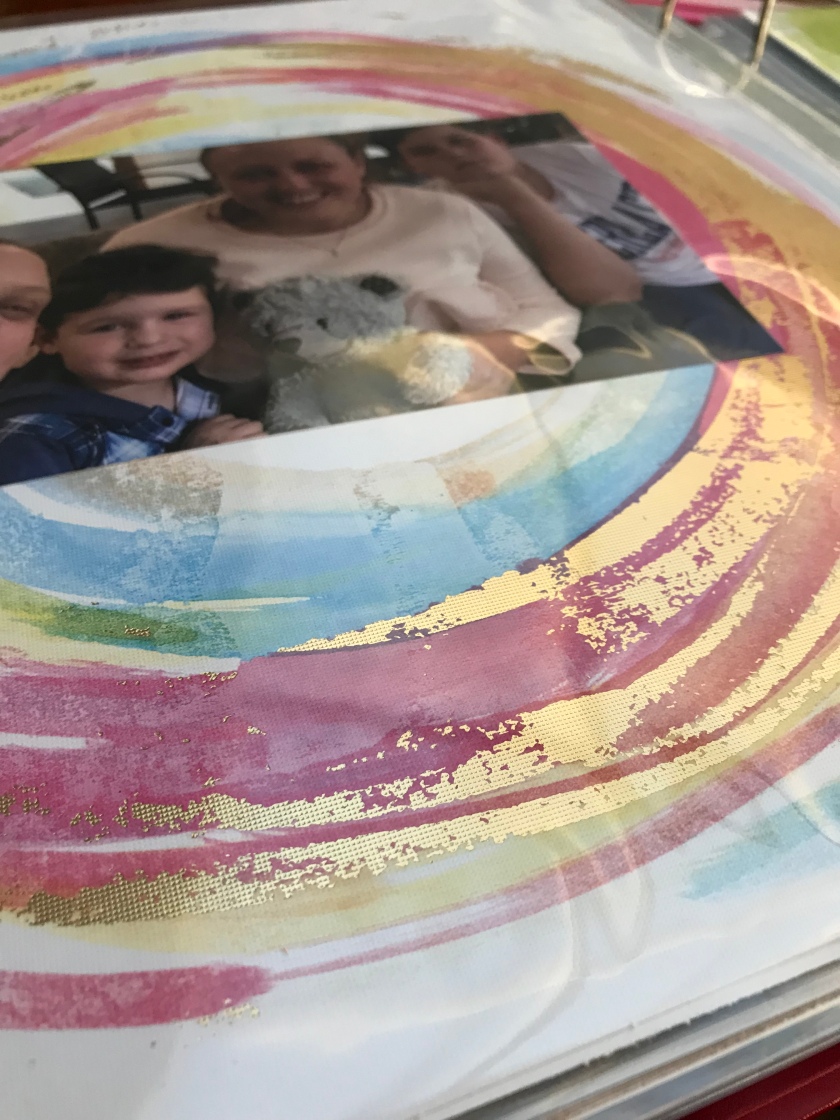
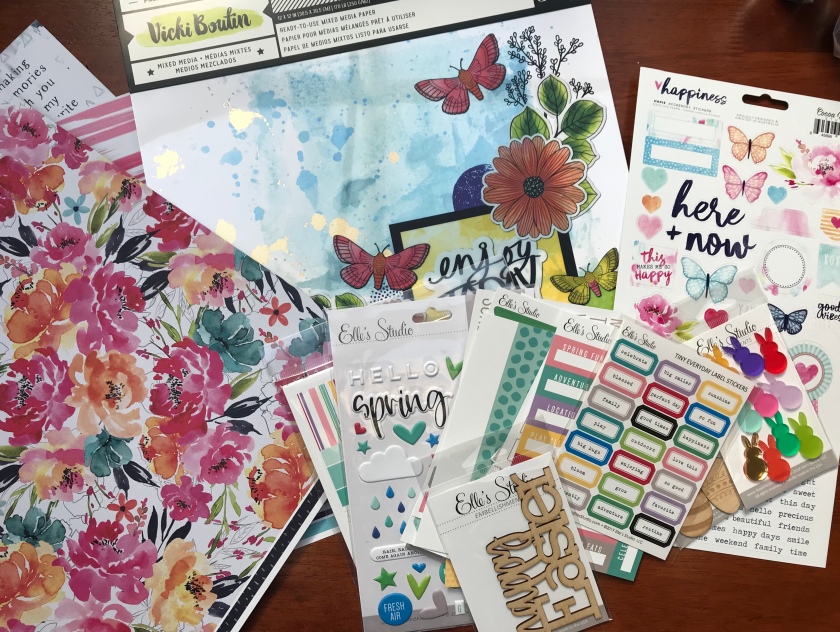
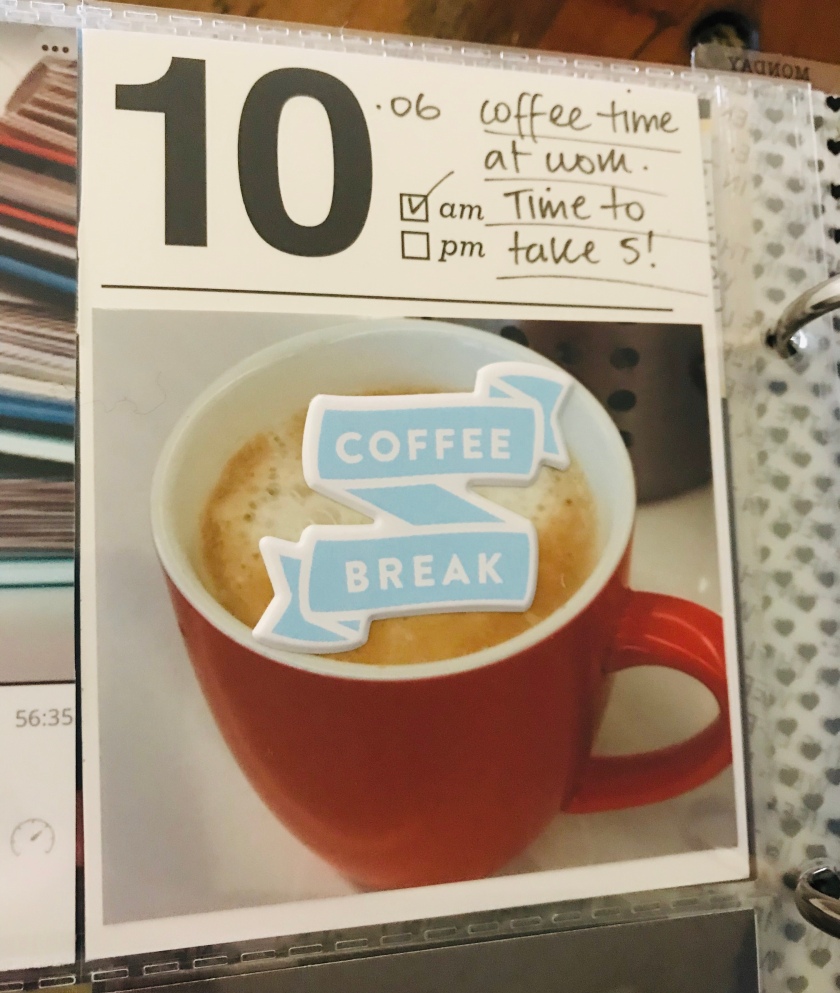
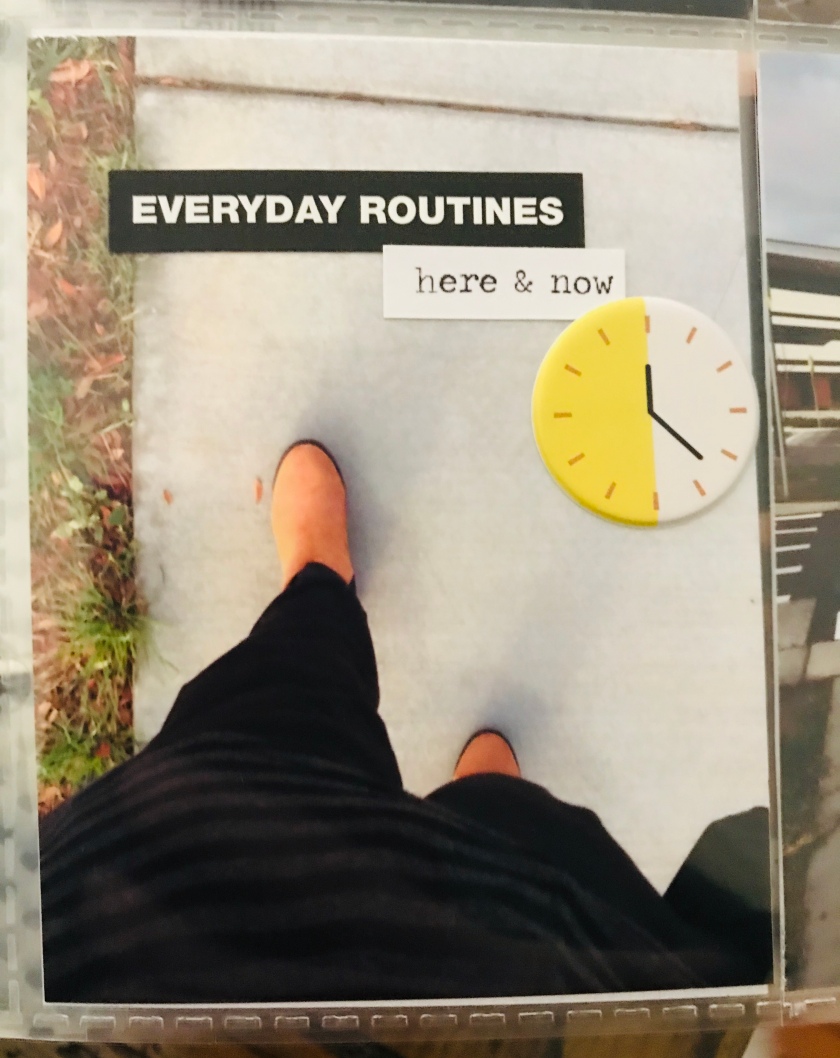
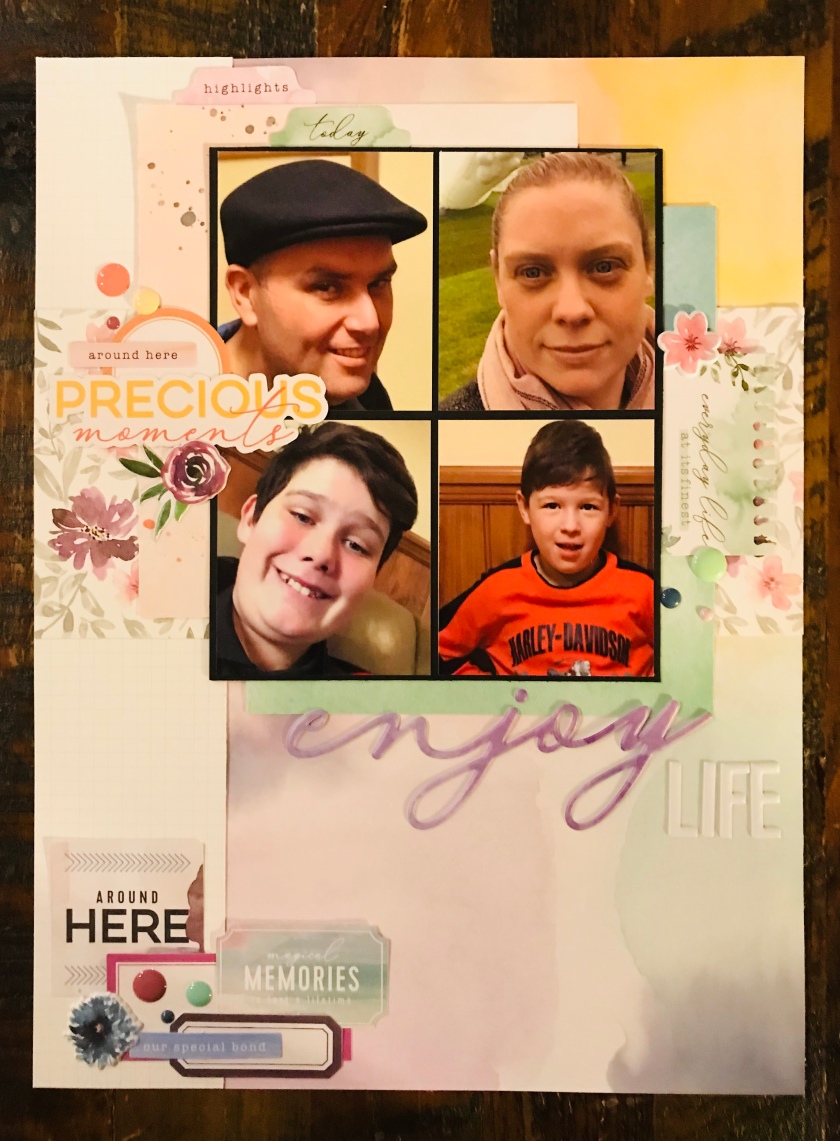
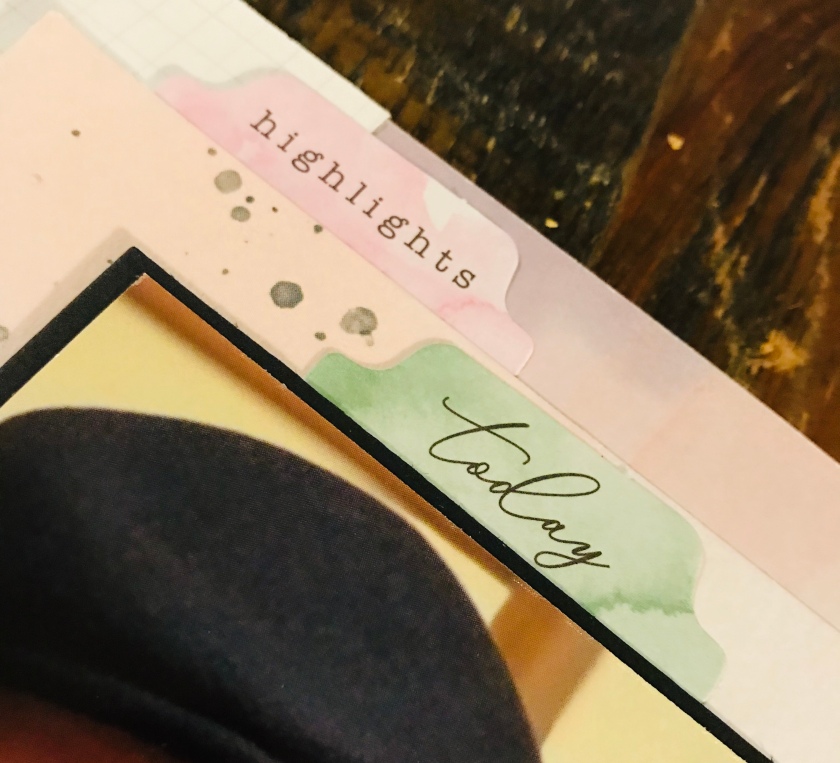
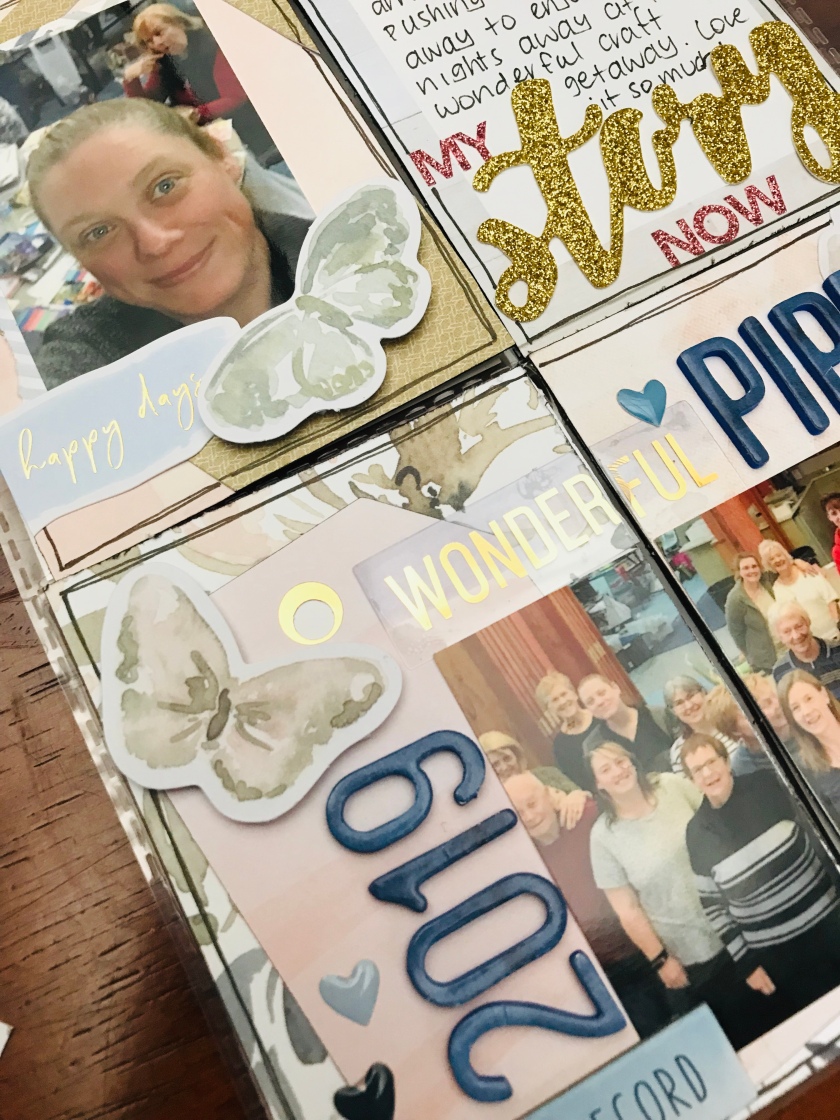
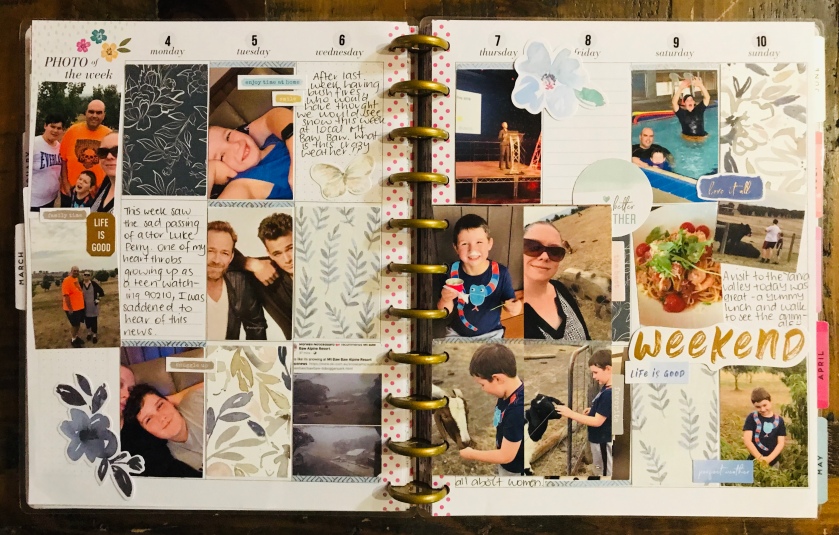
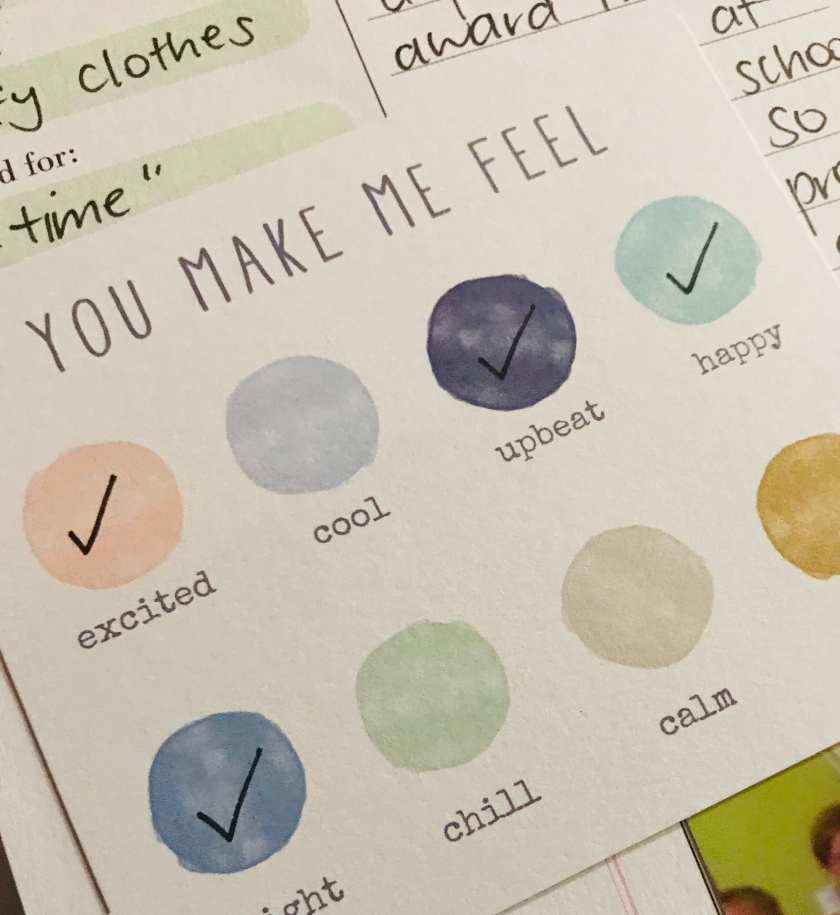
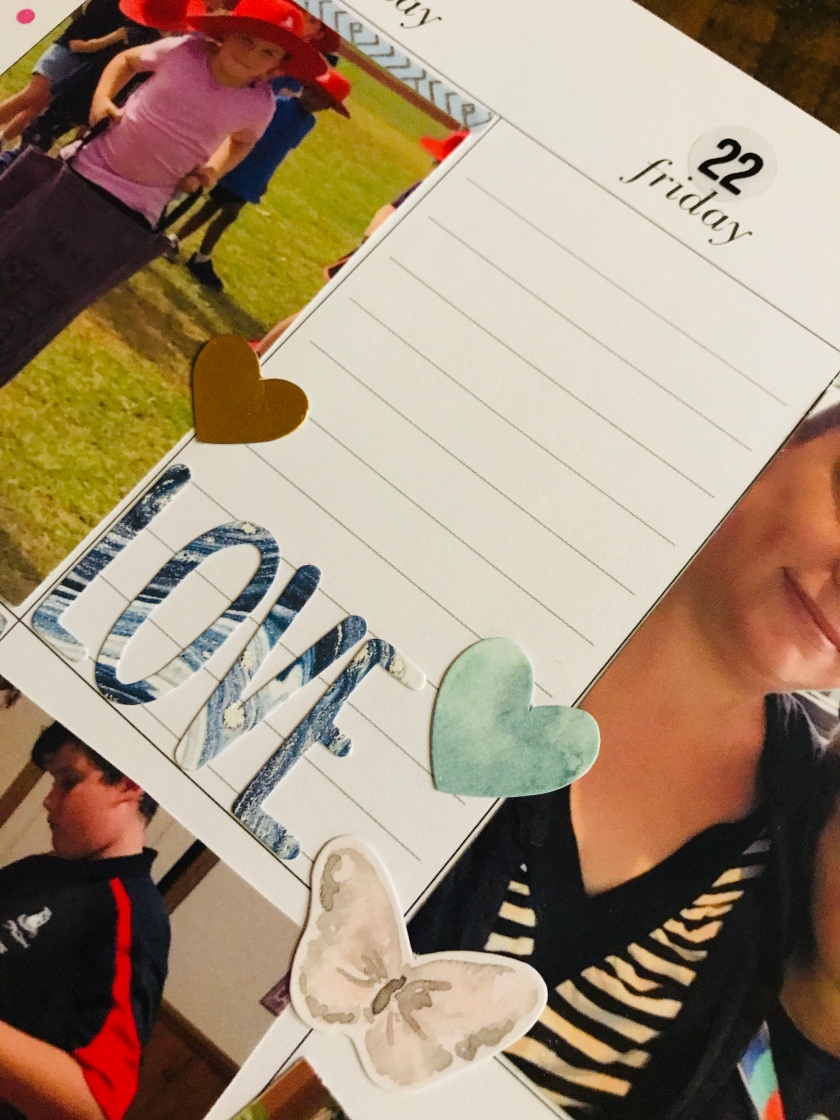
5. Temporarily fill your pockets. Now it’s time to determine how you may like to fill the rest of the pockets on your pages. My album is quite photos heavy and that fine. You may also like to use Project Life cards, patterned paper etc for the other pockets within the album. I am using the Vicki Boutin Mixed Media collection to fill the pockets along side my photos.

I cut the papers to fit the pockets, ready for embellishing, journalling etc. Some of these pieces will be to be a backdrop to the photos and others will fill the pockets in their own right. I just love the look of this mixed media paper and it’s nice and sturdy.

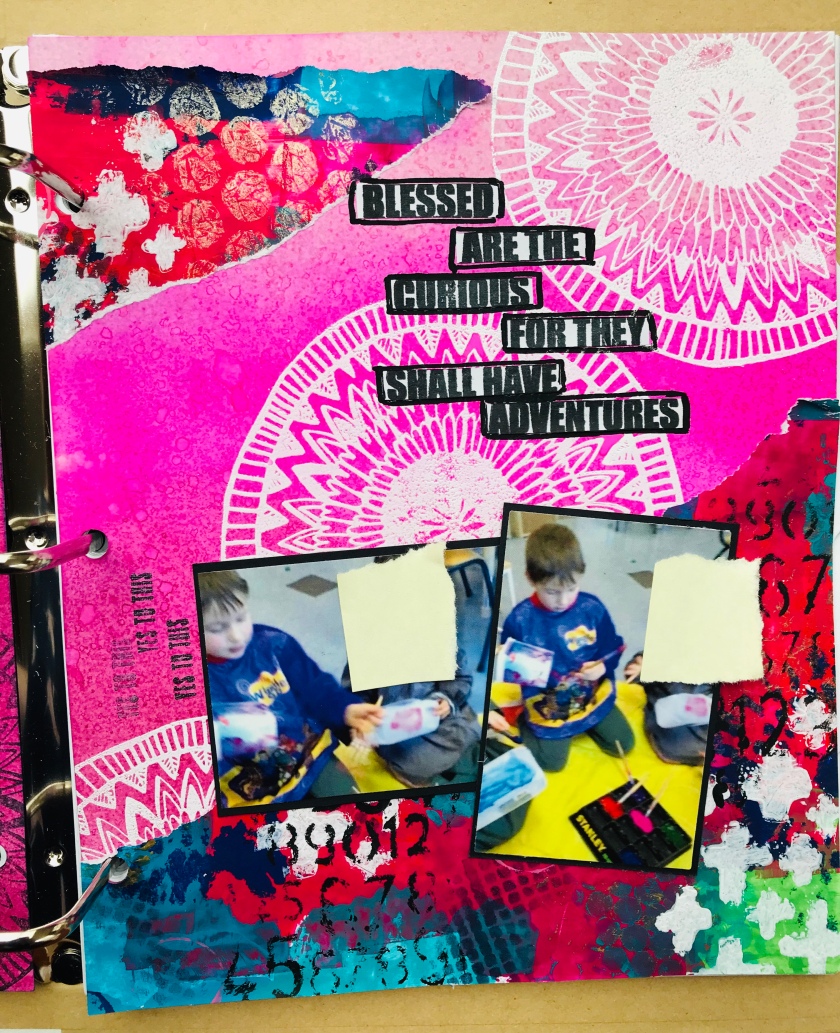
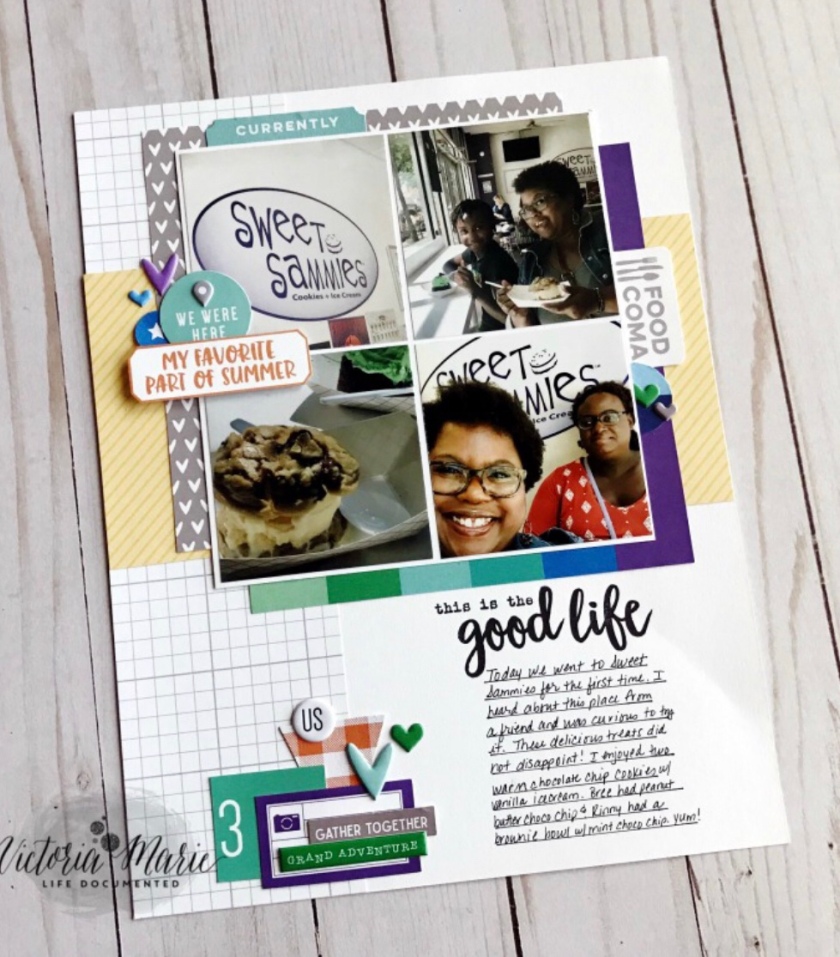
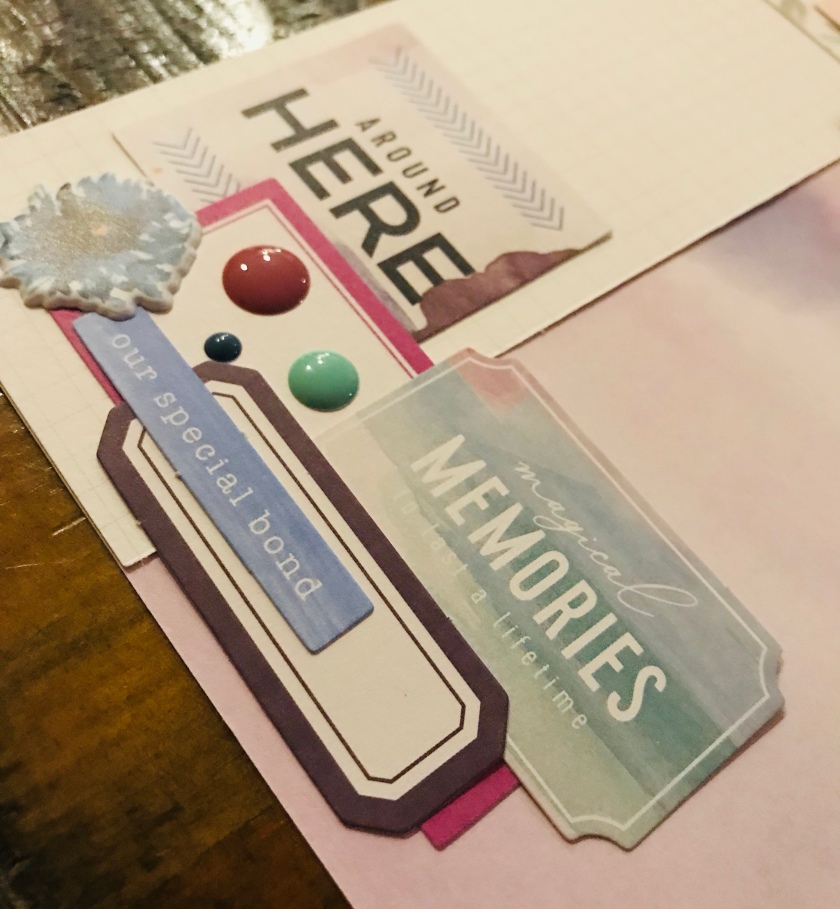
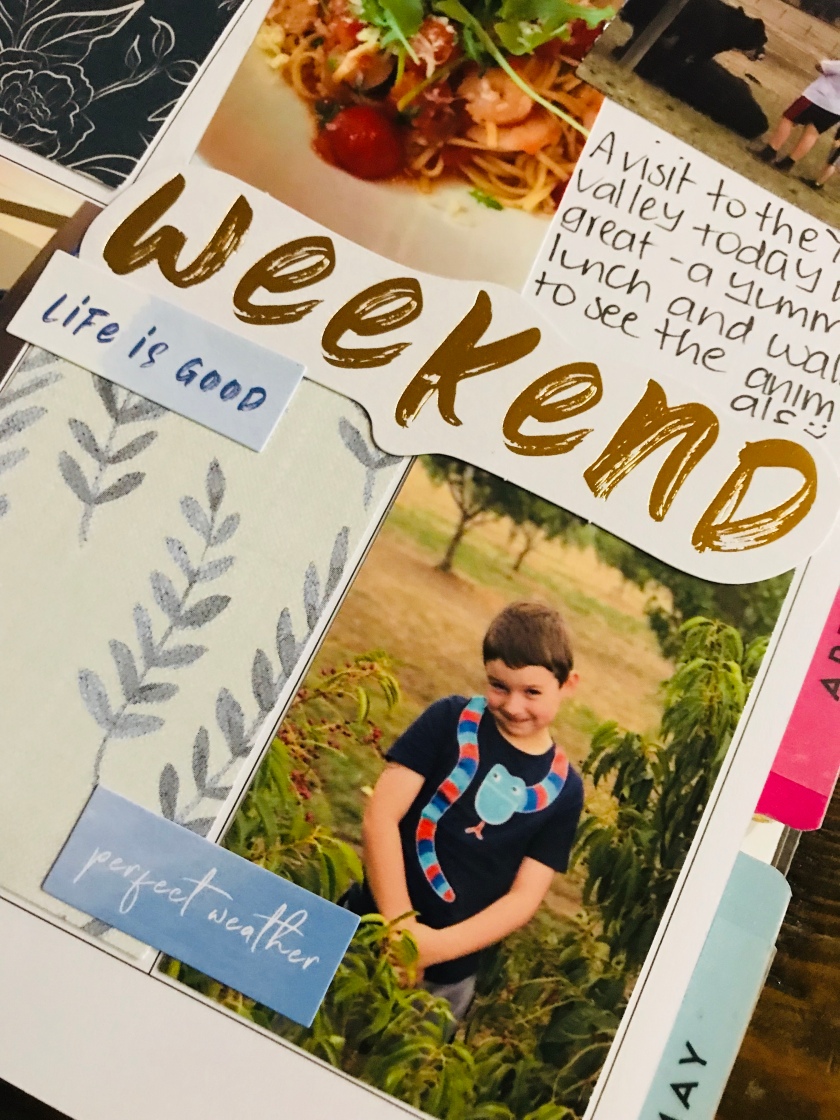
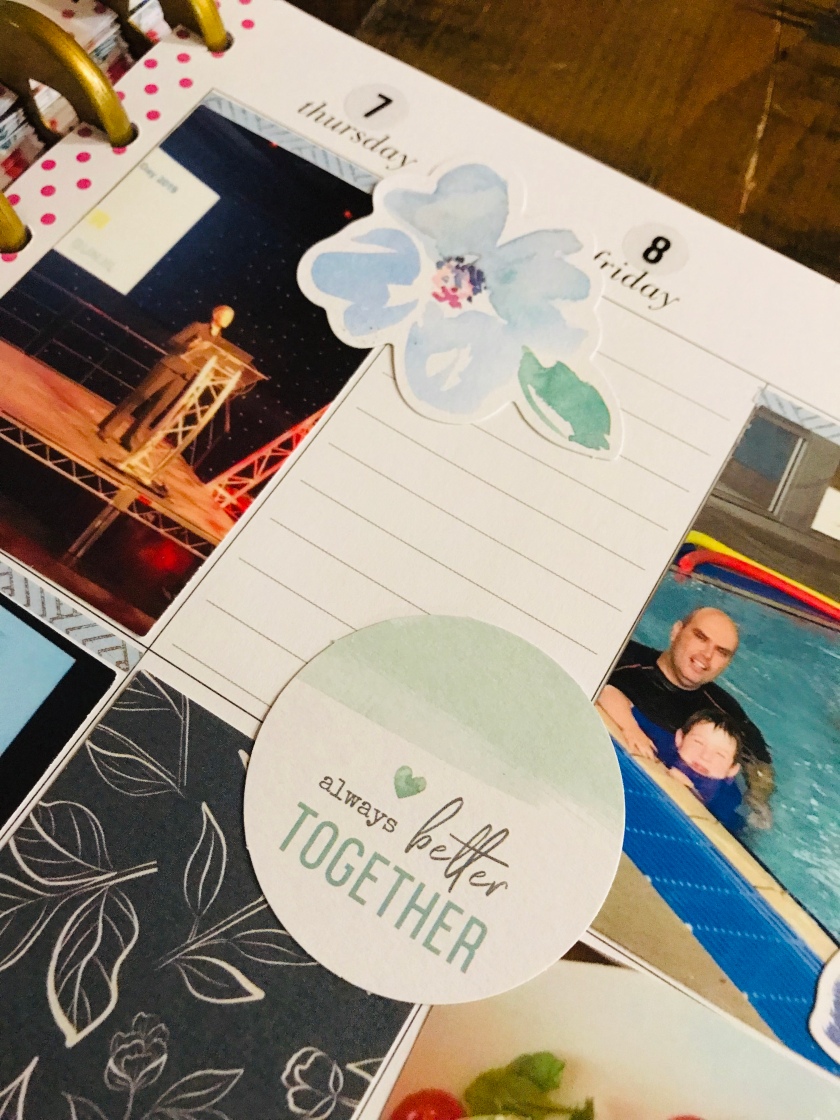
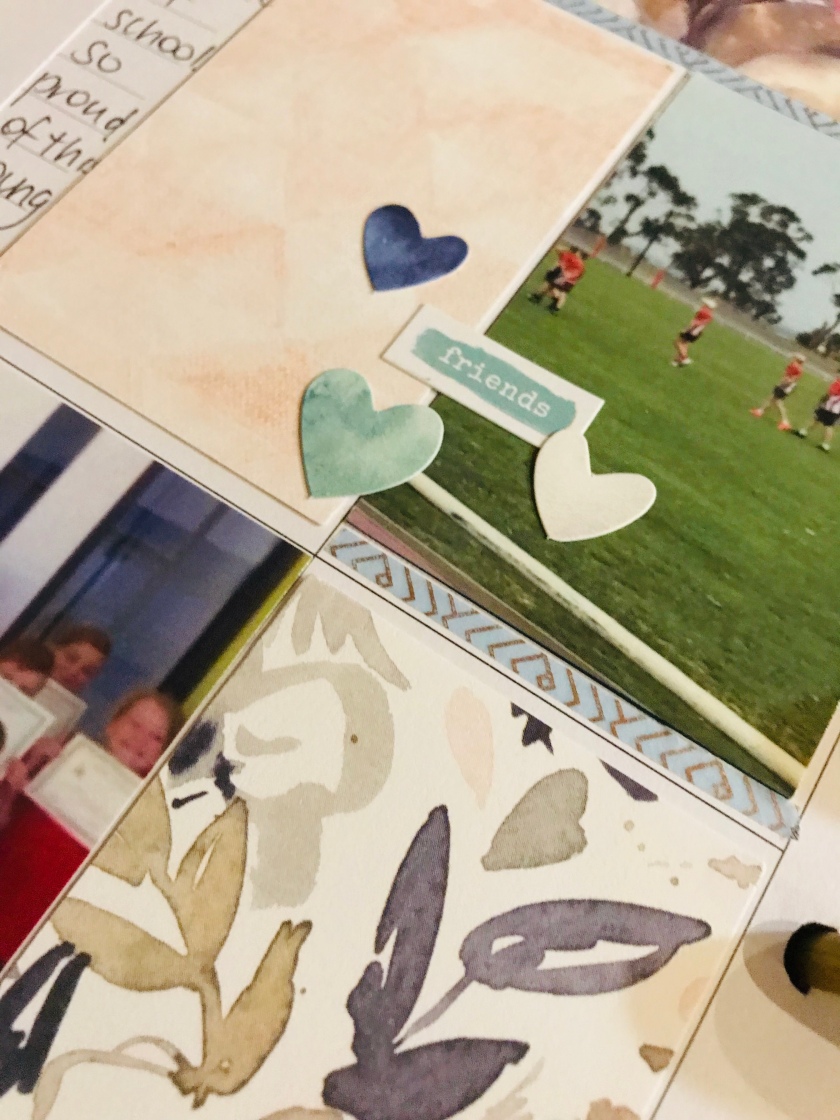
6. Compilation – this is the next step…to adhere your photos and embellish each of your pockets. For this album, I plan to keep it simple, using some stamping, die cuts and word stickers.

Stay tuned for more posts as I complete the pages over on my Facebook page – https://www.facebook.com/My-Scrapping-Space-889521414463296/ or my YouTube channel https://www.youtube.com/channel/UCk-lT7h0ehkTy5EYK0CLG6Q

I’d love if you’d pop over to follow my Instagram page at – https://Instagram.com/SARAHSSCRAPPINGSPACE

Thanks for stopping by and I hope this will help you get moving with some of your projects.
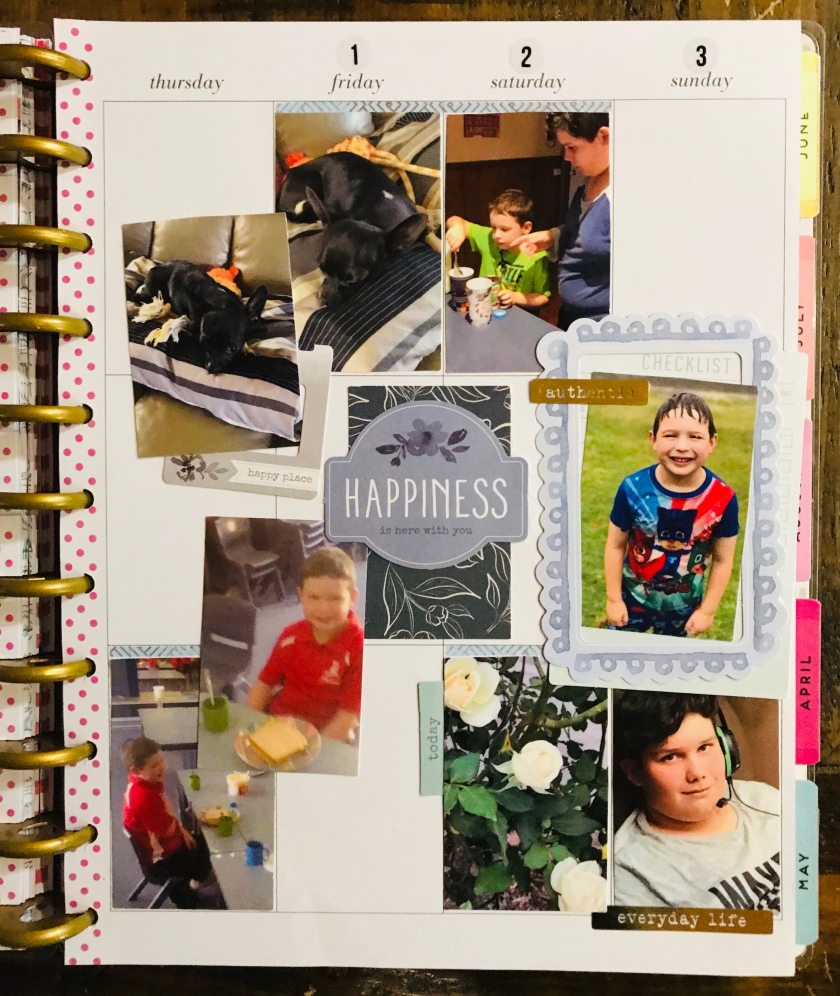
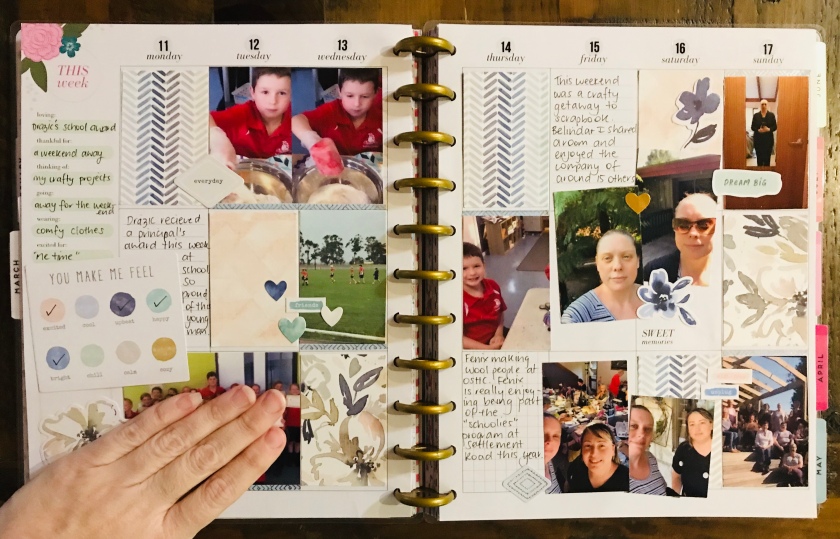
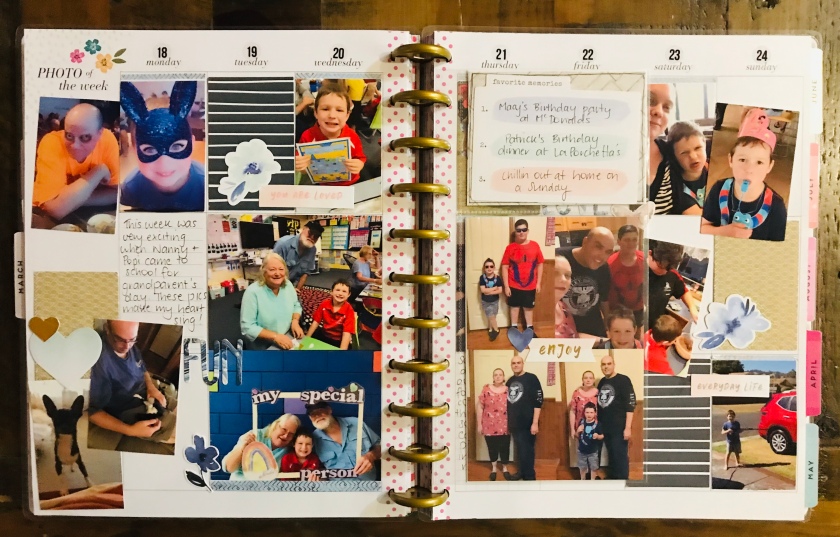
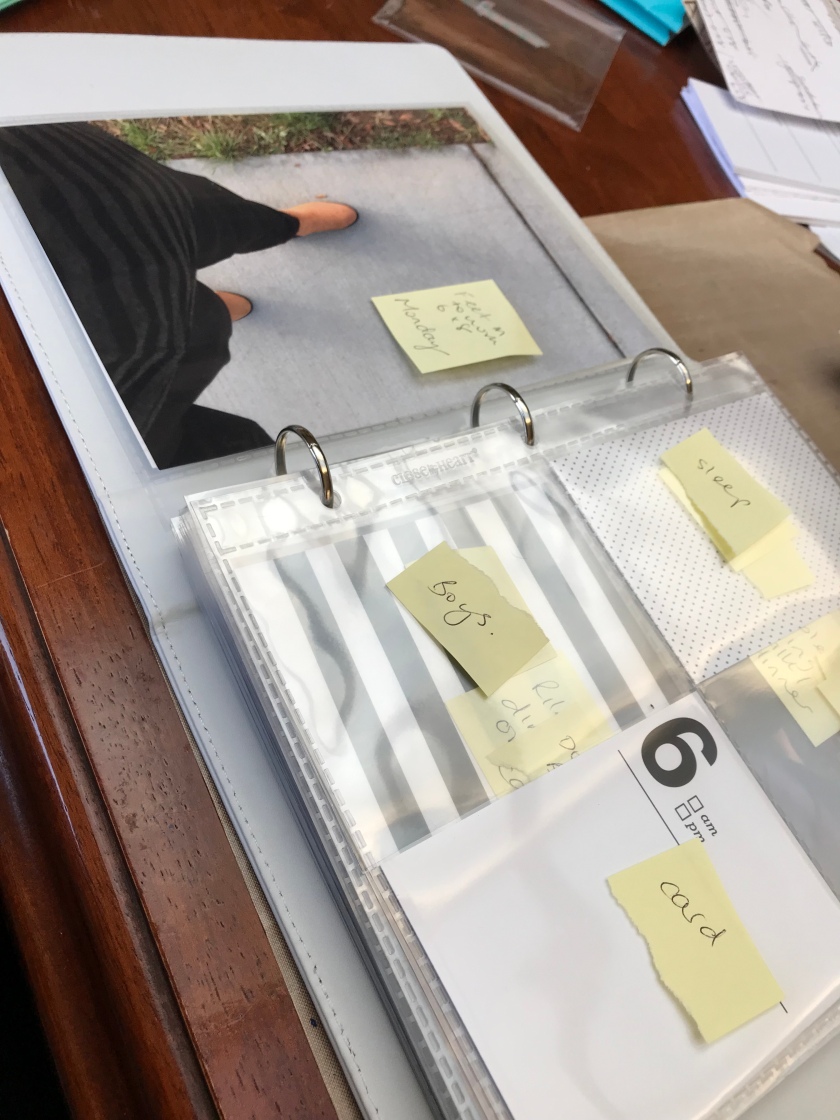
Playing = Learning in my Junque Journal

Hello crafty friends, you may have seen my recent Junque Journal background for The Travelers Notebook using the gorgeous Harmony Inks by Spectrum Noir.

I created the background of both pages of this double page journal spread using the set of three Spectrum Noir inks. I applied the ink with a round blending tool.

On the left page I stamped this gorgeous Art by Marlene stamp in black ink to compliment the right hand side of the same stamp that was white embossed.

To build some further colour across both pages, I adhered some of the painted sticker sheets I had created previously. These used a variety of acrylic paints, stencils, stamps and bubble wrap.

I backed the photos with black cardstock and added some additional black stamping using the Ali Edwards ‘Learn’ collection.

I am just loving my Vicki Boutin Junque Journal from The Travelers Notebook. Check out the range online at www.thetravelersnotebookonline.com and use my code DTSARAH for a 10% discount at checkout.

Thanks for stopping by. Be sure to follow my blog so you don’t miss any of my upcoming projects.

Holidays breed creativity…

I don’t know about you but the excitement of having some holiday time always gets my creative juices going!

I’ve got a couple of weeks off work and today I thought I’d share some of the products I’ve got recently that I plan to use in my upcoming projects.

Products are from online stores Sassy Scrapper and The Travelers Notebook. You can of course use my Design Team code DTSARAH for a 10% discount at www.thetravelersnotebookonline.com

Take a look at this clip on my YouTube channel, like the clip and consider subscribing too! Id love it if you’d let me know what your favourite might be and what’s inspiring you at the moment! 🙂

https://youtu.be/DjPZ2Ji1MZY

Happy creating!!

Junque Journal layout for The Travelers Notebook

Hello crafty friends, I am so pleased to share my first Vicki Boutin Junque Journal layout from The Travelers Notebook.

The paper in this journal is fantastic for mixed media and despite it taking me some time to find my mojo with this layout, as soon as it was done, I wanted to make more!

I have a number of extra photos of my youngest son from kinder last year and wanted to capture these in an album he could enjoy.

I created the background using a number of distress inks in the mini pads. I then used a few Aall and Create stamps from my stash to create some background texture.

I mounted the two little photos on Cocoa Vanilla midnight paper from the 6×8 paper pack (also from The Travelers Notebook at https://thetravelersnotebookonline.com/search?q=Cocoa+vanilla).

I used my white posca pen to add some marks on the background.

To finish off the layout, I used Elle’s Studio puffy stickers for the title and embellishments. I just love how the blues complimented the photos and background. Added a few enamel dots and the layout was done!

Thanks for stopping by and be sure to follow my blog for more upcoming crafty projects. You can also follow me on Instagram at https://instagram.com/SARAHSSCRAPPINGSPACE